Hydrangea Cuttings and Propagation
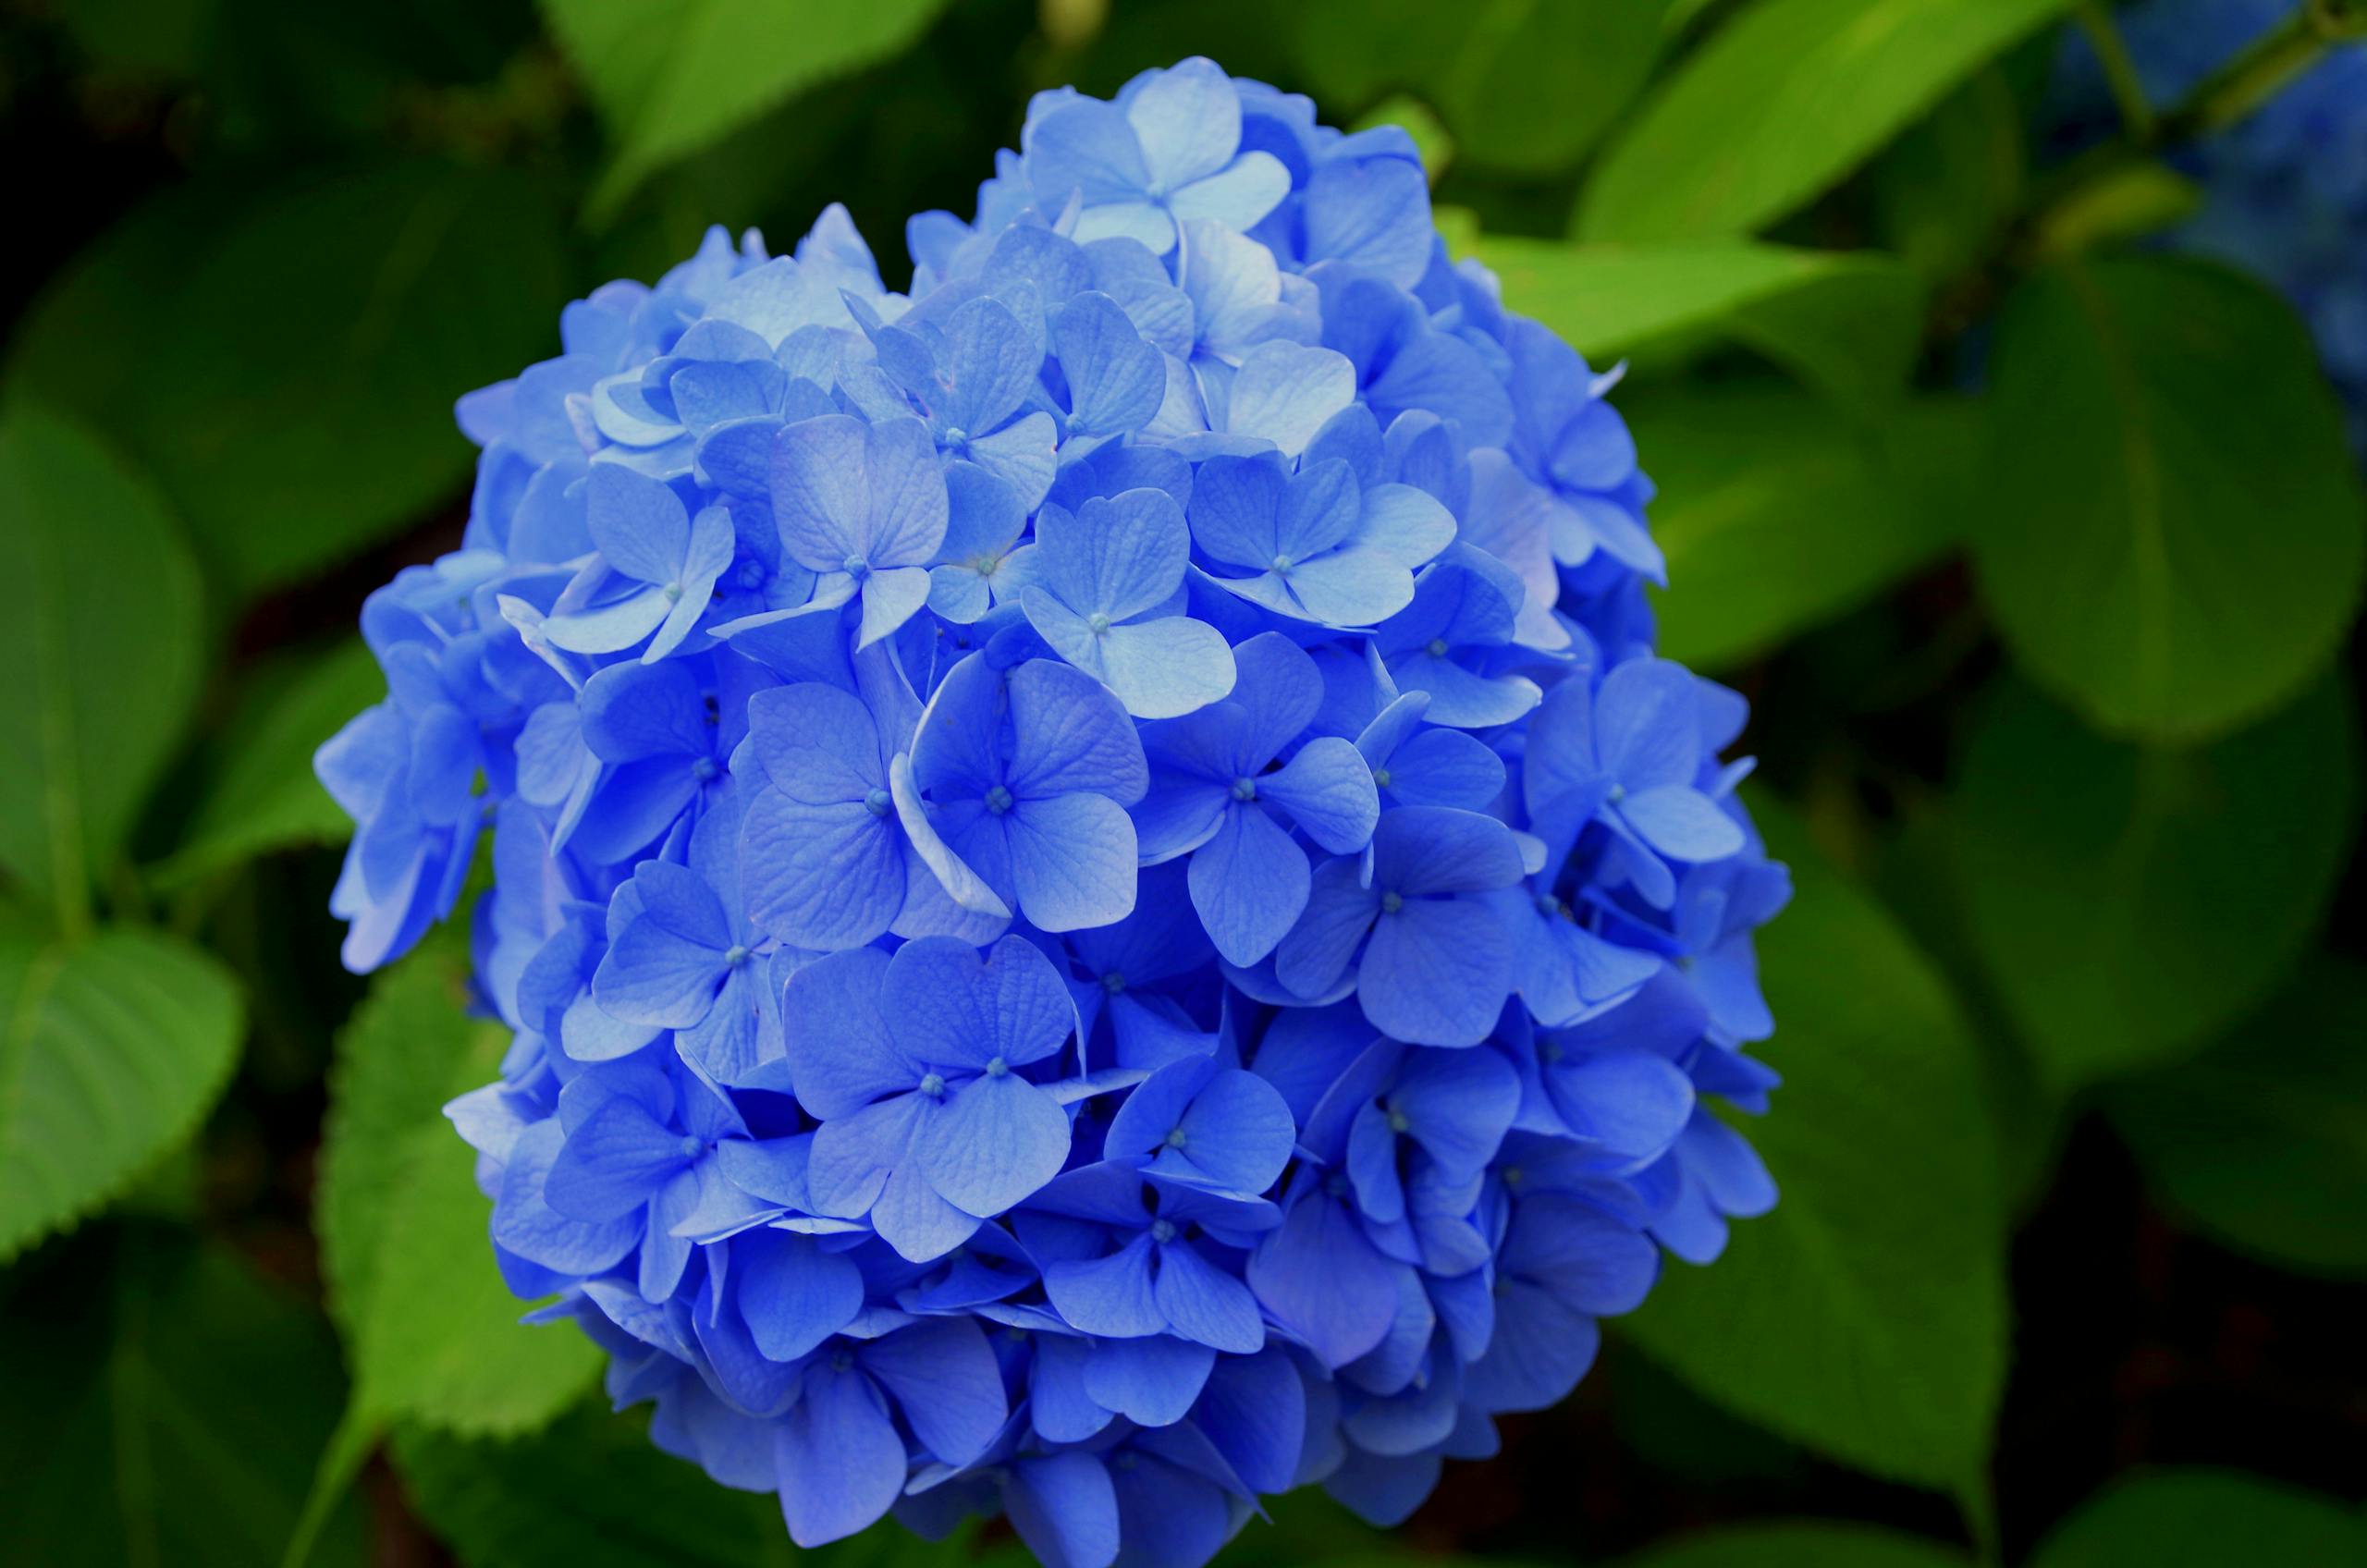
Hydrangeas (Hydrangea spp.) are beautiful flowers that are also customizable in a way; the pH of the soil they grow in can change the color of the blooms on the bigleaf and mountain varieties. Regardless of which varieties you plant, though, having a yard filled with these flowers is a beautiful sight when everything is in bloom. Hydrangeas are very easy to propagate, too, and if your friend has given you permission to take some cuttings, you just need a few steps to create a healthy hydrangea plant of your own.
How to Take a Hydrangea Cutting

When the hydrangea has produced new growth, which will likely be in late spring, look for a new-growth stem that doesn’t have flowers yet. Do this early in the day because the heat and sun that the plant will get later in the day can make the stems a bit dehydrated. That can increase heat stress and make the cutting weaker.
Get a pair of pruning shears, and dip the blades in (or wipe them with a cloth dipped in) rubbing alcohol to disinfect them. Choose a stem that’s at least 4 inches long, and cut a couple of inches below a leaf node.
Here’s What You’ll Need
Small pot: You don’t need a huge planter for this yet. When you’re just starting a cutting, get one of the small plastic pots used for seedlings at nurseries and garden centers.
Potting mix: Look for a mix that’s made specifically for starting seeds or cuttings. You’ll also need to ensure it drains well.
Rooting hormone: This is optional, and some experiments have shown that it isn’t crucial for successfully propagating cuttings. But if you want to give the cutting some extra help, you can dip the end in this powder that you can get at nurseries and garden centers.
Your hydrangea cutting: Strip off all the lower leaves, but leave the ones at the top of the cutting. If any of those leaves are relatively large, cut them in half across their width. In other words, you want to end up with each leaf having its stem and the bottom half of the leaf only. Cutting off the top half of each leaf reduces the leaf’s need for resources like soil nutrition and moisture, allowing the rooting process to use those instead.
A plastic bag: This will help create humidity around the cutting.
Step-by-Step Instructions for Using the Cutting
- Fill the small pot with the potting mix and dampen the soil. Poke a hole that’s the same length as the hydrangea stem from its bottom to just below the leaves.
- Stick the bottom of the hydrangea stem into the hole and fill in any extra space with soil; the leaves should now be at the surface of the soil.
- As you wait for roots to grow, either mist the cutting, or place the cutting in the plastic bag. You can both put it in the bag and seal the opening, or turn the bag over and place it on top of the cutting. Just ensure the leaves aren’t touching the plastic.
- Store the cutting in a spot where sunlight won’t shine directly on it. Indirect light or shade protects the cutting from heat stress.
- Keep checking the cutting for small buds, and occasionally give it a gentle tug to see if it feels like roots are holding it in the soil. This can take a couple of weeks or so, and even as long as a month.
- Let the cutting grow for another few months as a container plant, and then transplant it into your garden.